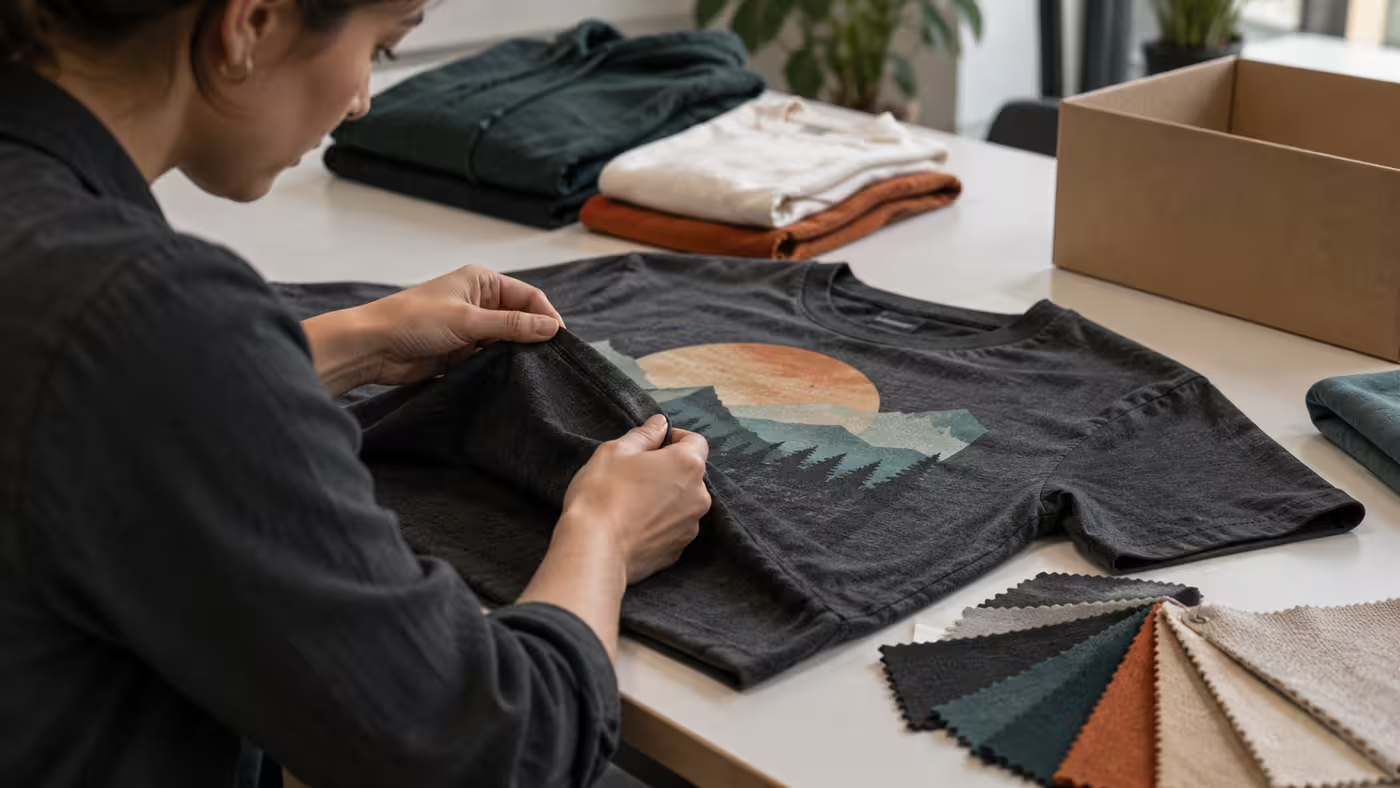
A physical sample shows what a customer will actually receive, while a mockup only shows an idea on a screen. Before you approve a bulk order in India, check the garment, print, construction and packaging against one written specification and record the exact version you approved.
What should you check first on a sample?
Start with the item itself. Hold the sample in hand and look at the fabric feel, weight and finish. A screen preview cannot show texture, hand feel or how a print sits on fabric. This simple first check helps you judge whether the product feels right for your brand and your customer.
Then check colour in steady daylight near a window. Colours can look different under warm indoor light and under a phone screen. Compare the sample with your approved colour reference and note any shift you see. If you are working with a brand colour, keep the reference beside the sample while you check.
Next, look at print detail up close. Are fine lines clean? Are small letters readable? Does the print feel smooth or raised in the way you expected for the method you chose? These details matter for customer trust, especially for a first order from a new brand.
Oowia helps buyers make this check easier because it is a vertically integrated facility in India, owned by Ambuja Knitting Mills, a 70-year-old B2B knitted fabric manufacturer. Knitting, dyeing, printing and garmenting happen under a single roof, so quality control stays end to end and orders can ship as one parcel.
How do you record which sample you are approving?
Write down the exact product before you judge it. Record the SKU or style name, fabric type, size, print method, substrate colour, artwork file name and revision date. This record stops confusion later when you reorder or share feedback with a supplier.
Give the sample a simple ID and photograph the front, back, label, print detail and packaging in consistent light. Photos help you compare a revised sample with the first one without relying on memory. Keep the photos with your approval note.
Do not approve a full size range from one size alone. If your sample is size M, note which other sizes still need a fit or placement check. Placement can move slightly across sizes, and a check on M alone may miss that change. The print-on-demand sample approval checklist makes the same point about linking a sample to a specific SKU, size and artwork version.
For a workwear or staff uniform order, the same discipline applies. A workwear sample approval checklist stresses recording the sample version, date, style code, colour and size before production starts.
How do you check print placement and colour?
Measure placement from a repeatable point. Use the centre line, neckline or a side seam as your reference and write the distance in millimetres or centimetres. Notes such as slightly higher are hard to act on, while a measured note gives the production team a clear target.
Check scale and orientation as well. Is the motif the right width for the chest or front area? Is it straight when the garment lies flat? Is any text upside down or mirrored? These checks take a minute and can save a costly bulk mistake.
For all-over print, inspect the joins closely. Look at front and back joins, sleeve joins, side seams, hems and pockets. A flat mockup cannot show how a pattern meets at a seam, so the physical sample must prove that part of the design.
If you are unsure which print method suits your design, read DTG vs DTF vs Screen Print in India before you approve the sample. The method you choose affects detail, feel and placement, so the sample should match the method you plan to use for bulk production.
Use evidence in your feedback. A clear note might read: artwork version 3, front motif 12 mm left of centre on size M, see photo 04. That style of note is fair, specific and easy to check on a revised sample.
How do you inspect fit and construction?
Measure the garment at the points agreed in your specification. Check chest width, body length, sleeve length and shoulder width, then compare each point with the size chart. Record the actual numbers rather than writing only approved.
Try the sample on or dress it on a form if you have one. Check movement, layering and comfort around the neck, shoulder and armhole. For staff uniforms, ask a wearer to sit, reach and walk in the sample. A garment that looks fine on a table may feel tight during a full workday.
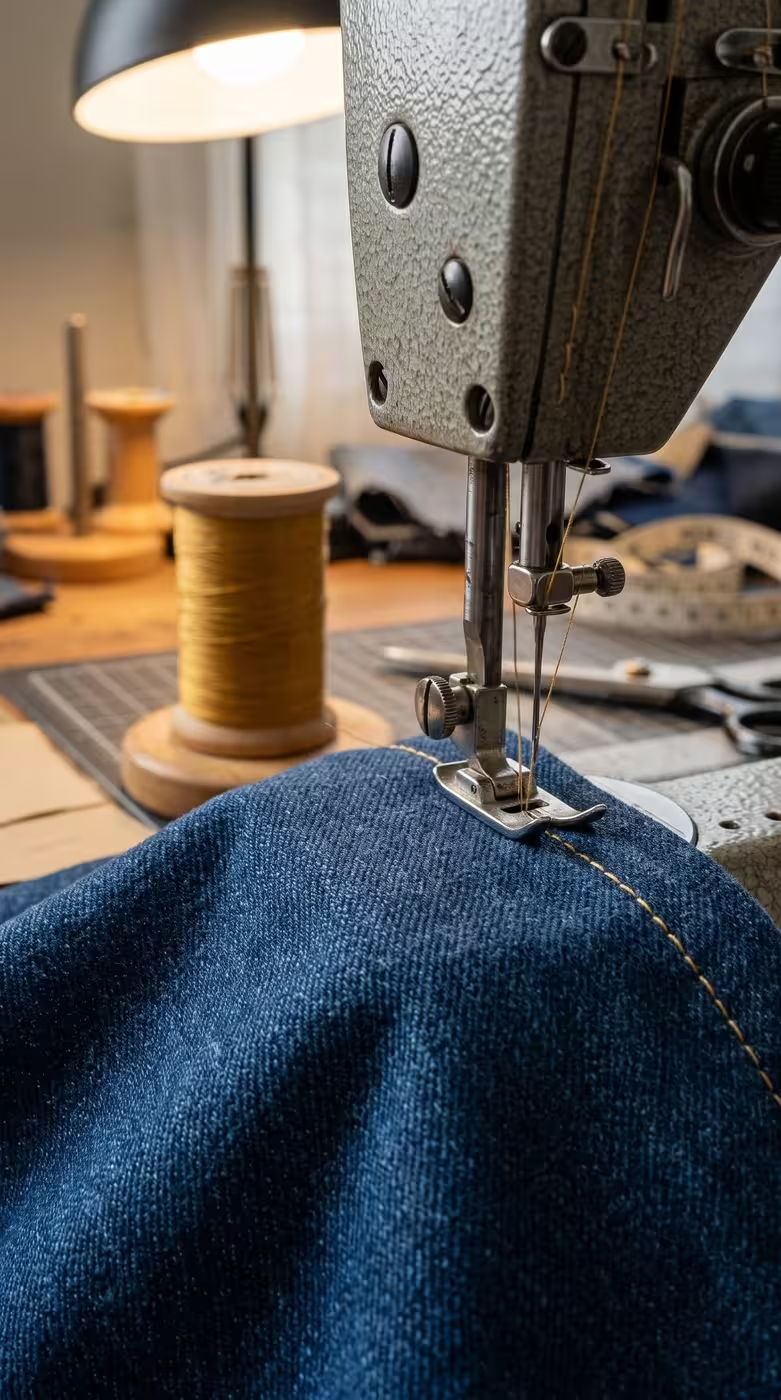
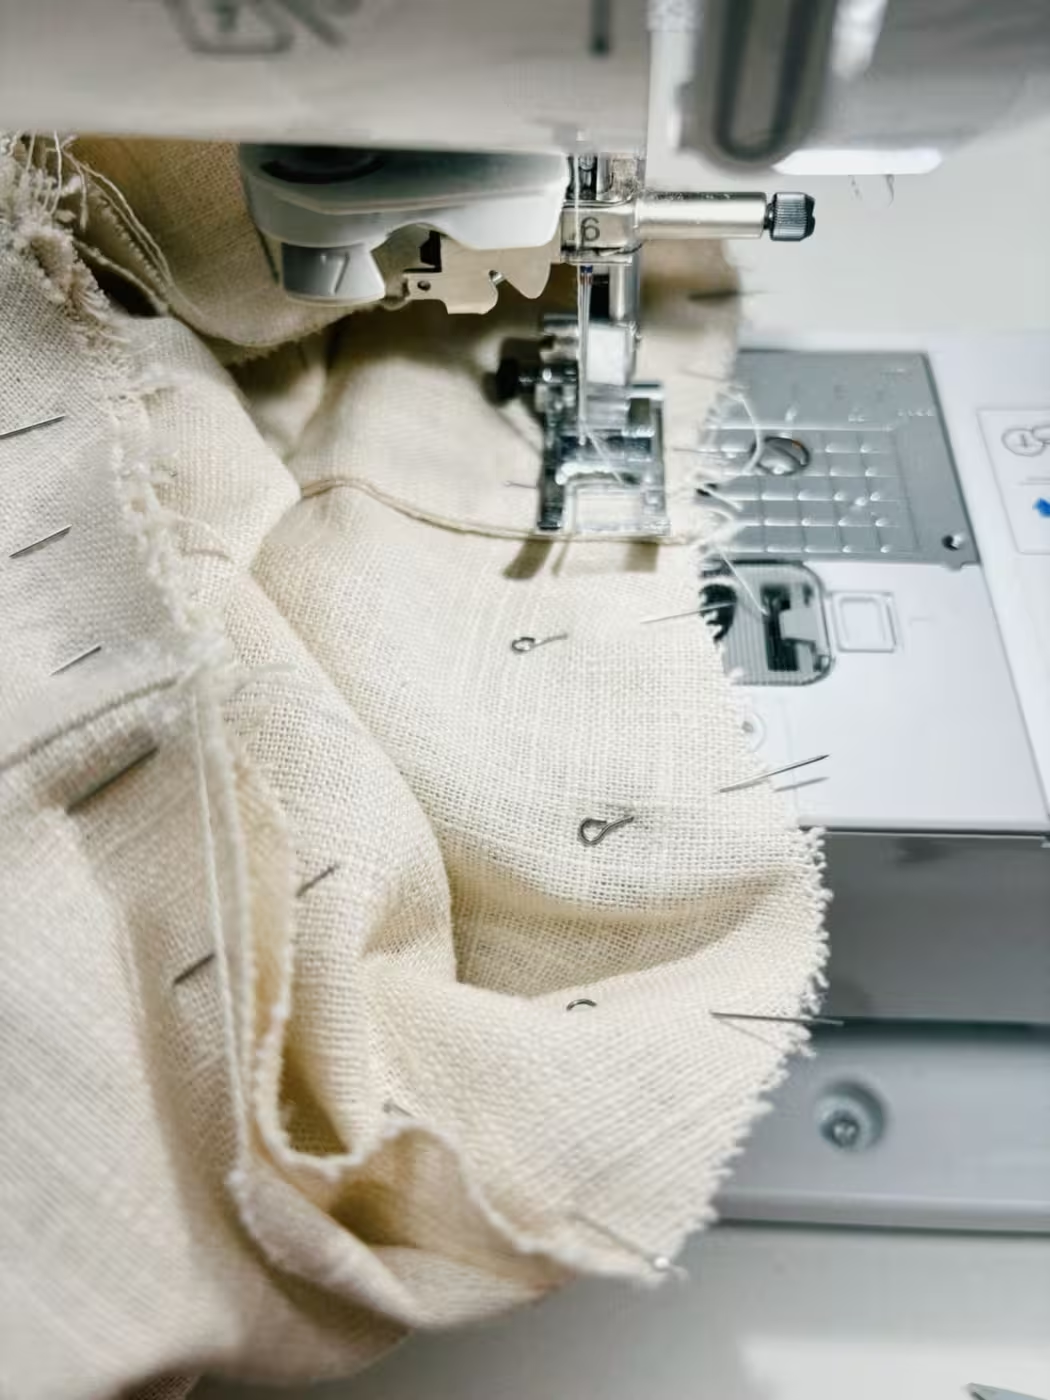
Inspect seams, hems and inside finish next. Look for skipped stitches, loose threads, raw edges and neat corners. Check stress points such as pocket corners, collars and cuffs. For uniforms, also check closures, buttons, zips and reflective tape if your order includes them.
A useful starting point for a bulk uniform order is this guide to order custom printed staff uniforms in bulk. It explains cost factors, sampling and print methods in a simple order, which pairs well with a physical sample check.
As a practical example, a buyer testing a basic style might start with the Men's Premium Cotton T-Shirt, ₹159 and check print placement, stitching and fit on that one sample before planning a wider range. Starting with one clear sample keeps the first decision simple.
How do you check washing and durability?
A visual approval alone cannot prove wash durability or dimensional stability. If your brand plans to make care or performance claims, agree the test method and acceptance level before testing. Keep pre-test and post-test measurements with your sample record.
Wash the sample once using the care instructions you plan to share with customers. After drying, check shrinkage, twisting, colour loss, pilling, seam appearance and print durability. Compare the washed sample with your approval photos and notes.
Check the print after washing in the same light you used for the first check. Look for cracking, fading, peeling or a change in hand feel. Note the result with a date, so you know whether the evidence still applies if you change fabric, print method or care instructions later.
The same habit helps with printed business materials. A guide on how to request and evaluate print samples reminds buyers to check colour accuracy, print detail and overall presentation in hand before a bulk commitment.
How do you approve packaging and the final release?
Open the sample package as a customer would. Check folding, protective packaging, inserts, branding, care information, barcode and packing documents. Note whether a single sample parcel differs from a bulk shipment in how items are folded or packed.
Confirm who handles a damaged print, a wrong size, an address error, a return or a replacement before the listing goes live. Clear answers here protect your customer experience and your reviews. A good sample still needs a clear plan for when something goes wrong.
Place a small test order if possible and inspect the output. The correct garment variant, artwork version, shipping service and destination should all agree with your approval record. This step catches mapping errors in a store that a sample alone cannot reveal.
Record an explicit release decision in four parts:
- Identity: SKU, material, size, production route, sample ID and date
- Artwork: approved file name and version, placement measurements and reference photos
- Checks: fit, construction, colour, packaging and any agreed test results with pass or fail evidence
- Decision: approved, approved with listed changes, or re-sample required, with owner and date
Request a new approval when the blank, fabric, size, construction, print method, artwork placement or production location changes. The old sample may no longer represent the product a customer will receive.
Your final takeaway before bulk approval
Approve a specific product, not just a design image. Measure placement, check colour in steady light, inspect seams and fit, wash the sample if performance matters, and open the packaging like a customer.
Write the decision down with photos and measurements. That one page becomes your production reference for bulk orders, reorders and quality checks. If you plan to grow after this first order, how to scale your print on demand fashion brand in India shows how quality manufacturing and fast fulfilment can support the next step.
